
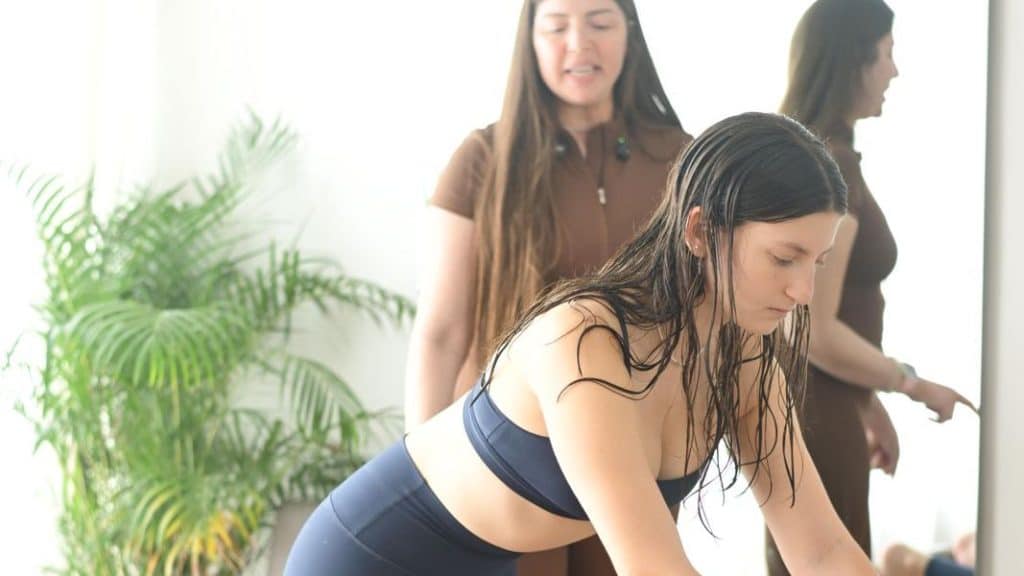
By Chen Leibovich, founder of Go Pilates Academy. Chen has taught Pilates for 10 years, ran two studios of her own, and built an NPCP Verified teacher training program with 700+ certified graduates in 30+ countries.
You know the exercises. You can do them well in your own body. Then you stand in front of a class, open your mouth, and the words come out too long, too late, or not at all. If that sounds familiar, you’re not alone: Pilates cueing is the skill new instructors worry about most, and the one that separates a class people tolerate from a class people book again.
The good news is that cueing is learnable. It isn’t a talent; it’s a set of tools, a sense of timing, and a lot of practice. This guide walks through how to cue Pilates the way we teach our own trainees: the four types of cues, how to time them with the breath, how to layer them, real examples for the Hundred, Roll Up, Footwork and Bridging, the mistakes to avoid, and how to practice until it feels natural.
The quick answer
- Use four kinds of cues: verbal (what to do), imagery (how it should feel), tactile (hands-on, only with consent) and visual (demonstration or gesture).
- Cue before the movement, not during it. Give the instruction on the breath before the action happens.
- Layer your cues: setup first, then the movement, then one refinement at a time.
- Say less. One clear cue beats three blended together.
- Practice out loud, on real bodies, and record yourself.
What is cueing, and why does it matter so much?
A cue is any instruction that helps a client move better: a word, an image, a touch, a gesture. Pilates cueing is the craft of choosing the right cue, for the right person, at the right moment.
It matters because in a group class your clients mostly can’t see you. They’re lying on their backs, facing the ceiling, or looking at their own feet on the footbar. Your voice is the class. When cueing is clear, clients stop guessing, work in the right muscles, and feel looked after. When it’s vague, even a beautifully planned class falls flat.
The four types of Pilates cues for instructors
Strong instructors don’t rely on one kind of cue. They switch between these four depending on the exercise and the person in front of them.
1. Verbal (directional) cues
These tell the body what to do: “Press the bar away.” “Lift your head and shoulders.” “Bend the knees to tabletop.” Good verbal cues are short, start with an action verb, and name a specific body part. They’re the backbone of every class.
2. Imagery cues
Imagery describes how a movement should feel: “Peel your spine off the mat like a strip of tape.” “Grow long through the crown of your head.” Images help clients find quality, not just shape. Use them sparingly and test them: an image that clicks for one client can confuse another. If you see blank faces, go back to a plain verbal cue.
3. Tactile cues (with consent)
A light touch can do in one second what three sentences can’t: a hand under the shoulder blades to find a lift, a fingertip on the lower ribs to soften them down. Always ask first, every time, and make it easy to say no: “Is it okay if I put a hand on your back here?” Explain where you’ll touch and why, keep the touch light and brief, and stay on clearly appropriate areas. Some studios use consent cards or a quick question at check-in. Respect any “no” without making it awkward, and have a verbal or visual alternative ready.
4. Visual cues and demonstration
Some clients learn best by seeing. A quick demonstration of a new exercise, a hand gesture showing the direction of the spine, or pointing to the part of the foot that should be on the bar can save a lot of words. The trap is demonstrating the whole class: you stop watching your clients, and you get tired. Demonstrate briefly, then walk the room and watch.
Cue timing: talk on the breath, before the movement
Timing is where most new instructors struggle. The rule is simple: give the cue just before you want the movement to happen, so clients have time to hear it and respond. If you say “exhale, roll up” while they’re already halfway up, the cue is a commentary, not an instruction.
Pilates is built around breath, so use it as your rhythm. A useful pattern is to cue the next action on the inhale (preparation) and let clients move on the exhale. For example: “Inhale, reach your arms to the ceiling… exhale, nod the chin and roll up.” Watch the room and match their pace, not your own.
A few timing habits that help:
- Count out loud for the first reps, then let the class find the rhythm and switch to corrections.
- Tell them how many reps and when the last one is coming: “Three more… last one.”
- Cue the transition before the exercise ends, so the class moves into the next position without a pause. This is a big part of The Flow Method™ we teach.
- Leave silence on purpose. Once a cue lands, let people work. Silence is not a failure.
How to layer cues without overwhelming the room
Layering means building an exercise one instruction at a time, from basic to refined, instead of giving everything at once. Think of it in three layers:
- Setup: where the body goes. Position, springs or props, starting alignment.
- Movement: what happens and on which breath. Get everyone moving safely.
- Refinement: one detail at a time, chosen from what you actually see. “Soften the ribs.” “Lengthen the back of the neck.”
Add a new layer only once the previous one is working. If half the class is still finding the setup, a refinement about the shoulder blades will be lost. Repeat exercises across the week, too: what you couldn’t layer on Monday you can add on Thursday.
Pilates cueing examples for four common exercises
Here’s what layered cueing sounds like in practice. Use these as a starting point and rewrite them in your own words.
The Hundred
- Setup: “Lie on your back, knees bent to tabletop, arms long by your sides.”
- Movement: “Exhale, nod the chin and curl your head and shoulders up. Reach the arms just above the mat and start pumping them. Breathe in for five pumps, out for five.”
- Refinement: “Keep your gaze toward your belly.” “Reach long through your fingertips.” “Legs higher, or knees bent, wherever your back stays steady.”
- Image: “Pump the arms like you’re bouncing a ball under each hand.”
Roll Up
- Setup: “Lie down, legs long and together, arms reaching to the ceiling.”
- Movement: “Inhale, lift the head and shoulders. Exhale, peel the spine up off the mat and reach forward over your legs. Inhale there. Exhale, roll back down one bone at a time.”
- Refinement: “Draw the belly back as you come up.” “Keep your legs heavy.” “Bend your knees if you need to; that’s the smarter version for your back today.”
- Image: “Roll down like a wheel, placing each part of your spine on the mat.”
Footwork on the reformer
- Setup: “Heels together, toes apart in a small Pilates V, balls of the feet on the bar. Arms long by your sides, pelvis neutral.”
- Movement: “Exhale, press the carriage out until your legs are long. Inhale, control it back in. Don’t let the carriage slam the stopper.”
- Refinement: “Squeeze the backs of the legs together as you press.” “Keep your heels lifted and still.” “Same speed out as in.”
- Transition cue: “On the last one, stay in and move your heels onto the bar, flexed feet.” (Then on to arches, tendon stretch and so on.)
Bridging (spinal articulation)
- Setup: “Knees bent, feet hip-width apart and flat on the mat, arms long.”
- Movement: “Exhale, tilt the pelvis and peel the spine up, one vertebra at a time, to a long line from knees to shoulders. Inhale at the top. Exhale, roll down from the top of the spine.”
- Refinement: “Press evenly through both feet.” “Keep the knees pointing forward, not falling in.” “Soften the front of the ribs at the top.”
- Image: “Lift and lower your spine like a string of pearls.”
Common Pilates cueing mistakes (and quick fixes)
- Talking nonstop. Constant talk becomes background noise. Fix: cue, watch, then correct.
- Cueing late. Fix: say the next action on the breath before it.
- Too many cues at once. Fix: one cue per breath, one refinement at a time.
- Vague words. “Engage your core” means different things to different people. Fix: name what you want to see, like “draw your belly back toward the mat.”
- Only cueing what’s wrong. Fix: mix in positive cues: “Yes, that’s the length I want.”
- Teaching to yourself. Doing the class with your clients means you’re not watching them. Fix: demonstrate briefly, then walk and watch.
- Mixing up right and left. Fix: use landmarks like “the leg closer to the window” or “the hand nearest the footbar.”
How to practice cueing until it feels natural
- Script, then drop the script. Write out setup, movement and two refinements for each exercise. Read them aloud until you know them, then teach without the paper.
- Cue while you move. Do the exercise and say the cues out loud at the same time. You’ll quickly feel when a cue comes too late.
- Record yourself. Teach a short sequence on video or audio and listen back. Count filler words. Notice where the timing slips.
- Teach real bodies. Friends, family, other trainees. Watching someone misunderstand your cue is the fastest teacher there is.
- Repeat the same plan all week. Teaching one class several times lets you refine your words instead of reinventing them.
- Get feedback from an experienced teacher. Someone who watches you teach will catch habits you can’t hear yourself.
How Go Pilates Academy helps you find your teaching voice
Cueing can’t be learned from videos alone; you need someone to watch you teach. That’s why every track of our online Pilates teacher training includes live 1:1 mentoring and guided teaching practice: you teach our instructors live online, and they give you feedback on your cues, timing and transitions. You don’t need a reformer at home; you teach our instructors on their equipment over video.
Already teaching and want cleaner classes? Strong cueing starts with a clear plan, and our Class Plan Builder app gives you an exercise library, ready-made plans and a drag-and-drop builder so you can spend your prep time on what you’ll say, not what you’ll teach. Questions about training? Book a free call with an advisor.
The 45-Minute Pilates Class Plan
A ready-to-teach mat class with cues and options, plus the structure and checklist we use to plan every class in minutes.
Frequently asked questions
How many cues should I give per exercise?
Aim for one cue per breath and only a few refinements per exercise. Get the class moving with setup and movement cues, then add one detail at a time based on what you see.
Is it okay to touch clients when cueing?
Only with clear consent, every time. Ask before you touch, explain where and why, keep it light and brief, and follow your studio’s policy. Always have a verbal or visual alternative ready for clients who prefer no hands-on cues.
Should I demonstrate every exercise?
No. Demonstrate new or tricky exercises briefly, then step back and watch. Your job in a group class is to see your clients, and you can’t do that if you’re doing the workout.
How long does it take to get good at cueing Pilates?
It varies, but most instructors feel a real shift after a few months of regular teaching. The fastest progress comes from teaching often, recording yourself, and getting feedback from an experienced teacher.
Cueing works best on top of a well-built class. Read our guide on how to plan a Pilates class next.
Related guides
Turn your love of Pilates into a career you can teach.
Live online with 1:1 mentoring, or in person in a small cohort. Same method, same mentors, same certificate.